Replacing LED Boards
WACCA LEDs are notorious for being burnt out. You've likely received your machine in a state where some panels are not getting color data, are dim, or are straight up not lit up. This is partly due to the design of WS2812.
There are a few good options for replacements:
SpeedyLabs is selling their revision of the PCB, you'll need 60 of them to replace all your touch units. CensoredUsername is another source for the EU.
Alternatively, you can make your own.
Instructions
Remove the control panel by removing the single screw on the left and right side.
Click to show image
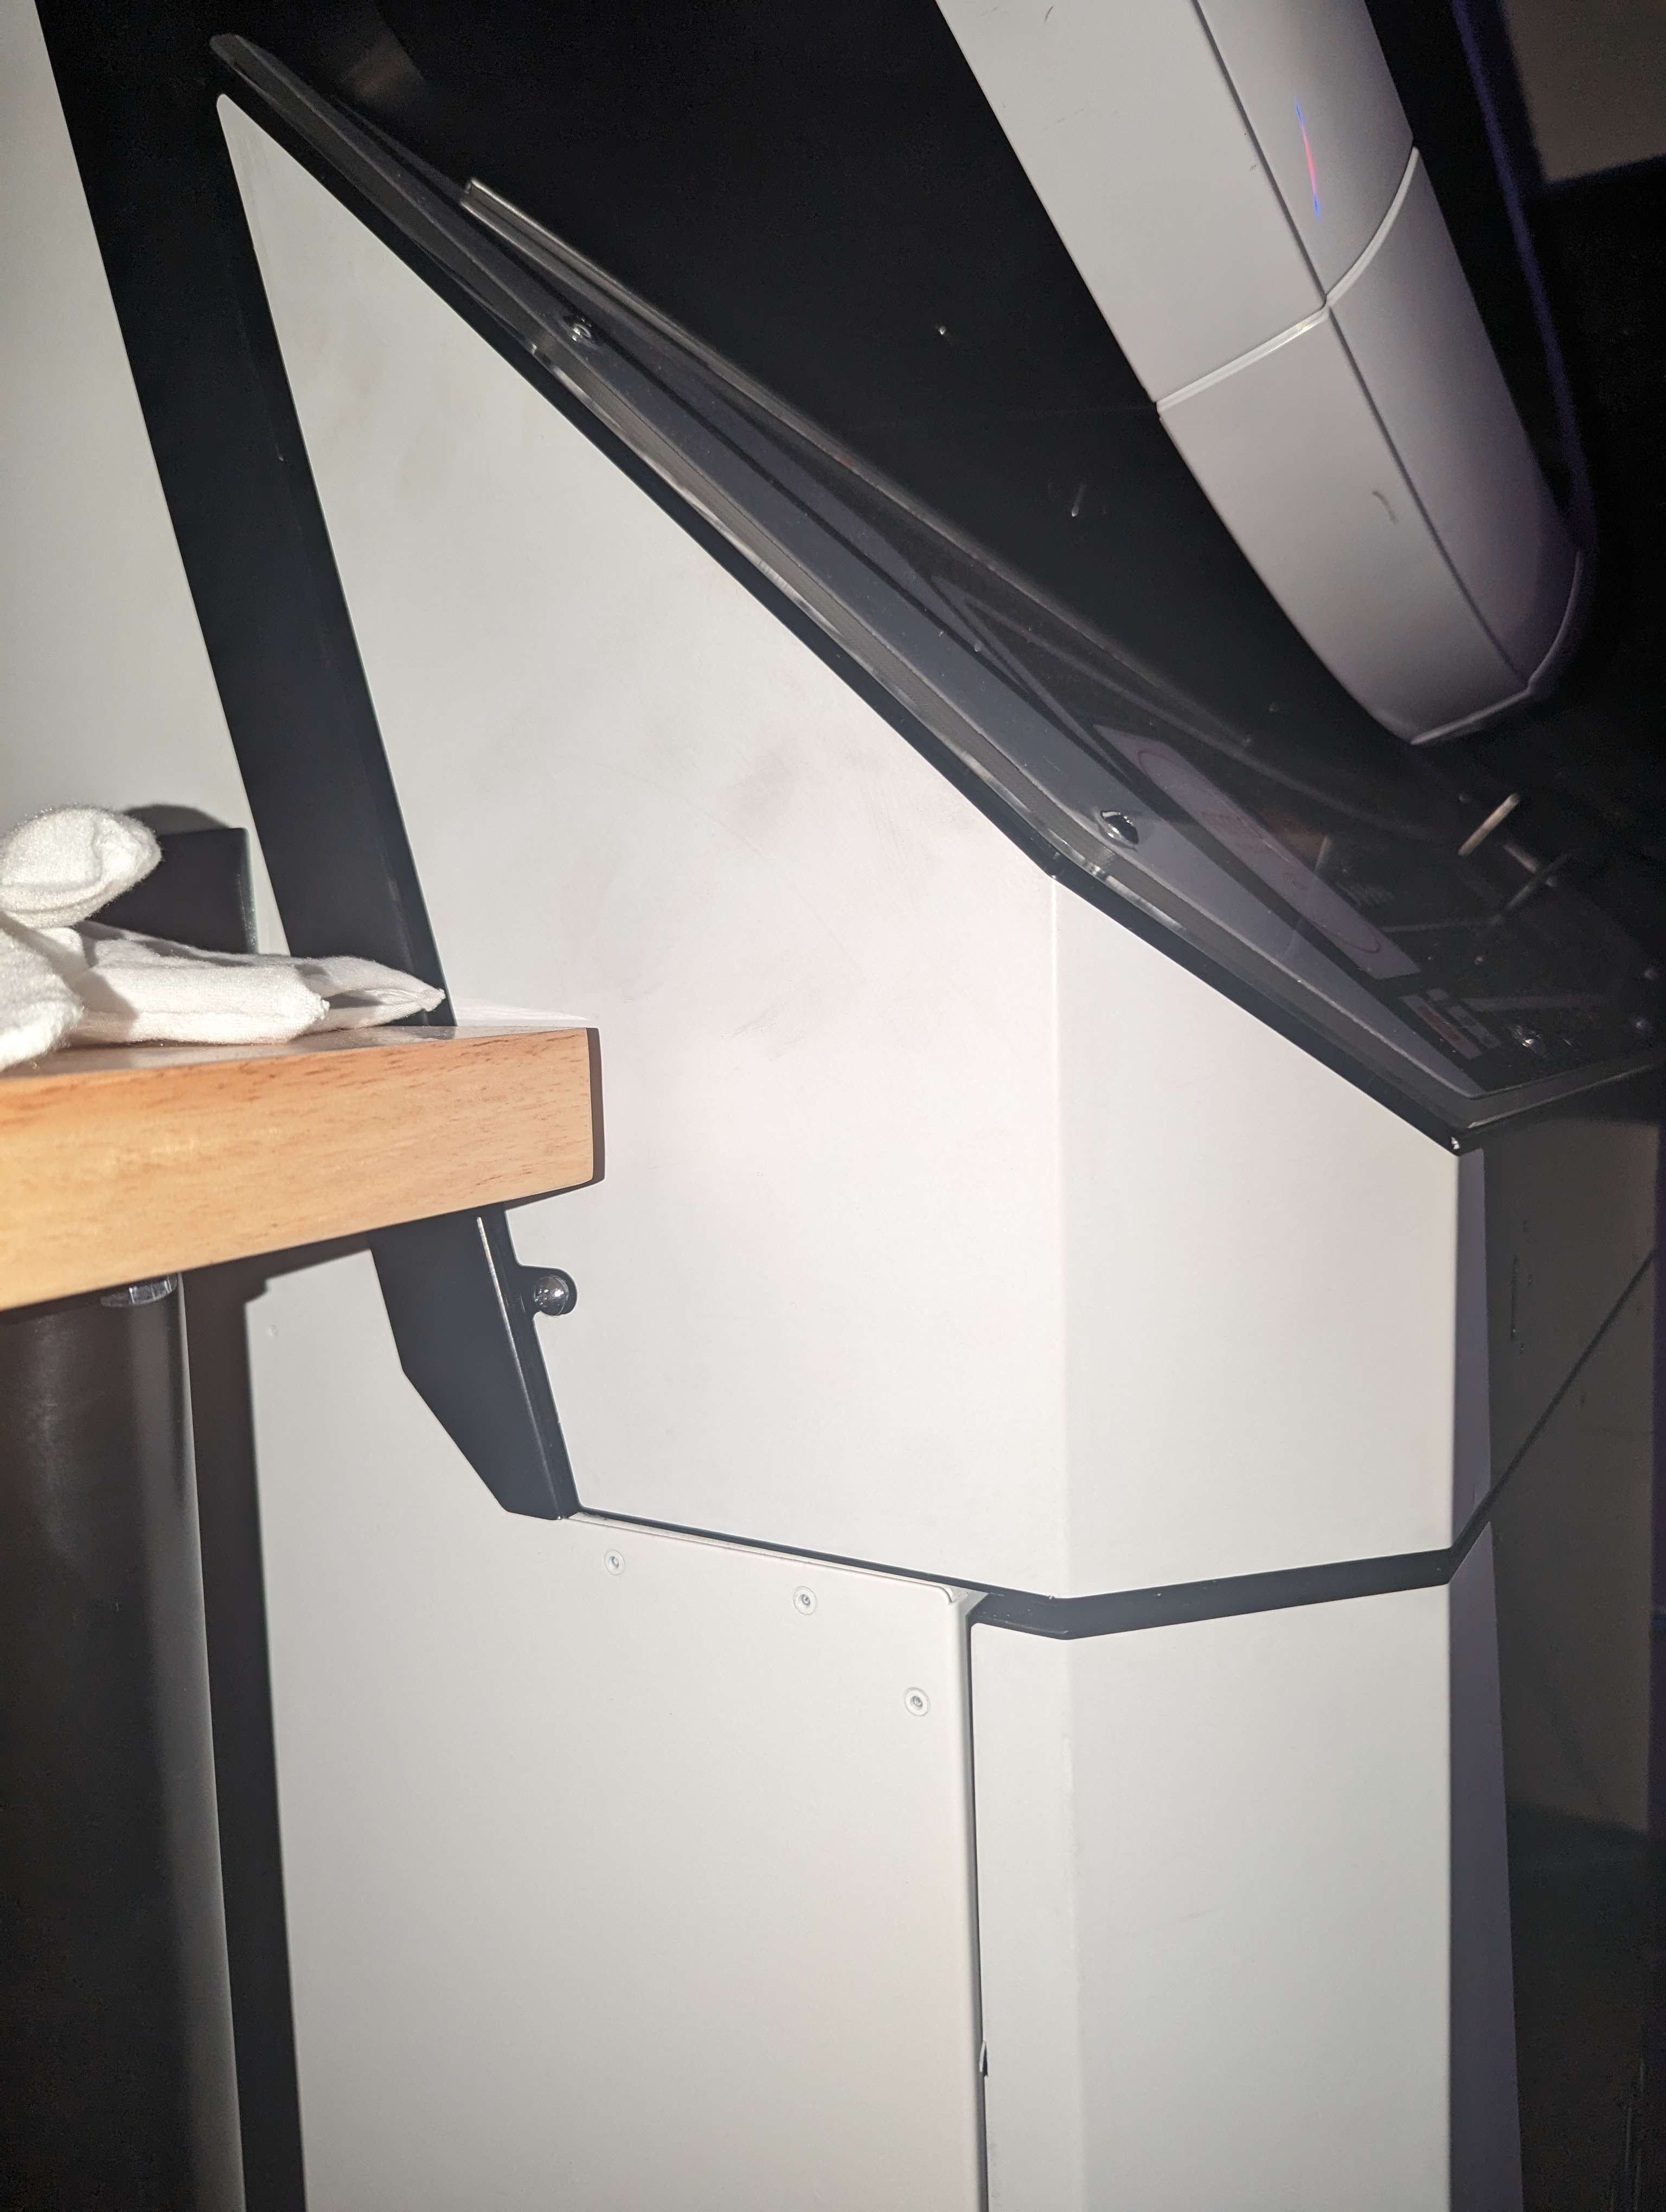
You don't need to remove the acrylic, just unplug the harnesses from inside the cab, feed them up, and slide the control panel out.
Click to show image
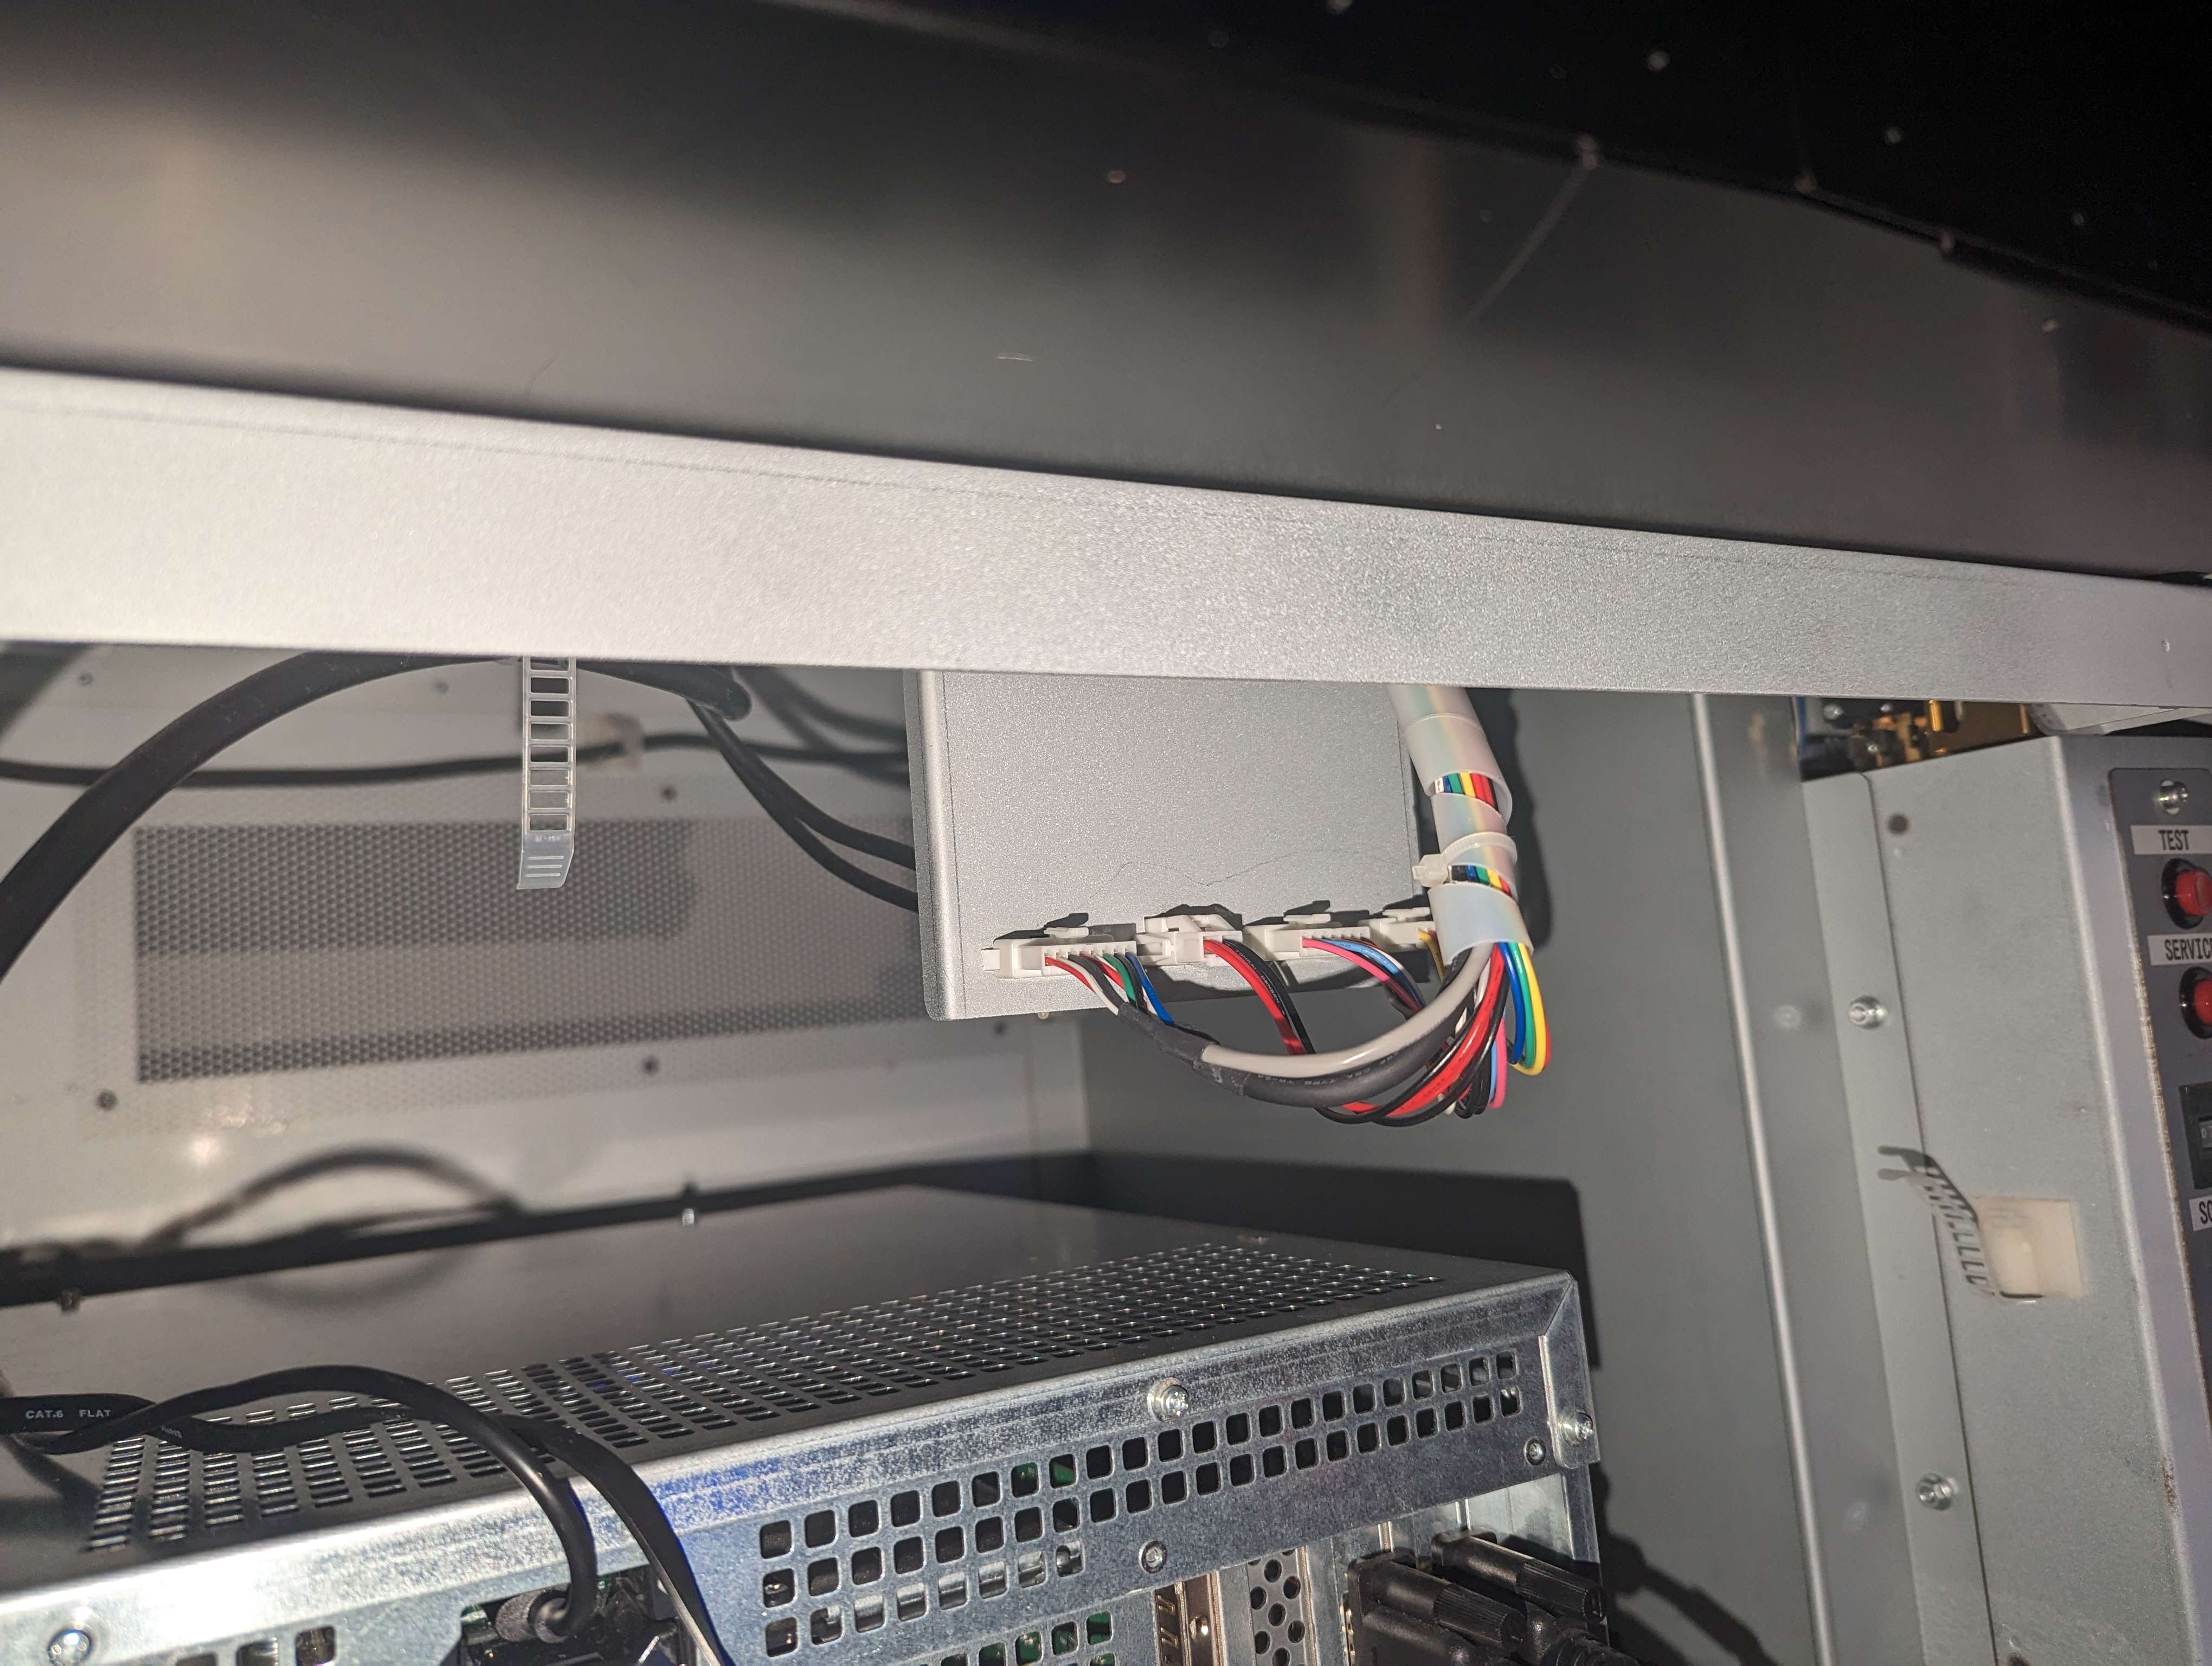
After you have the outside plastic pieces taken off, disconnect the LED data only wires, LED power on the middle LED board, and the touch board cable. Then remove the two outside screws for the panel and pull it straight out.
Click to show image
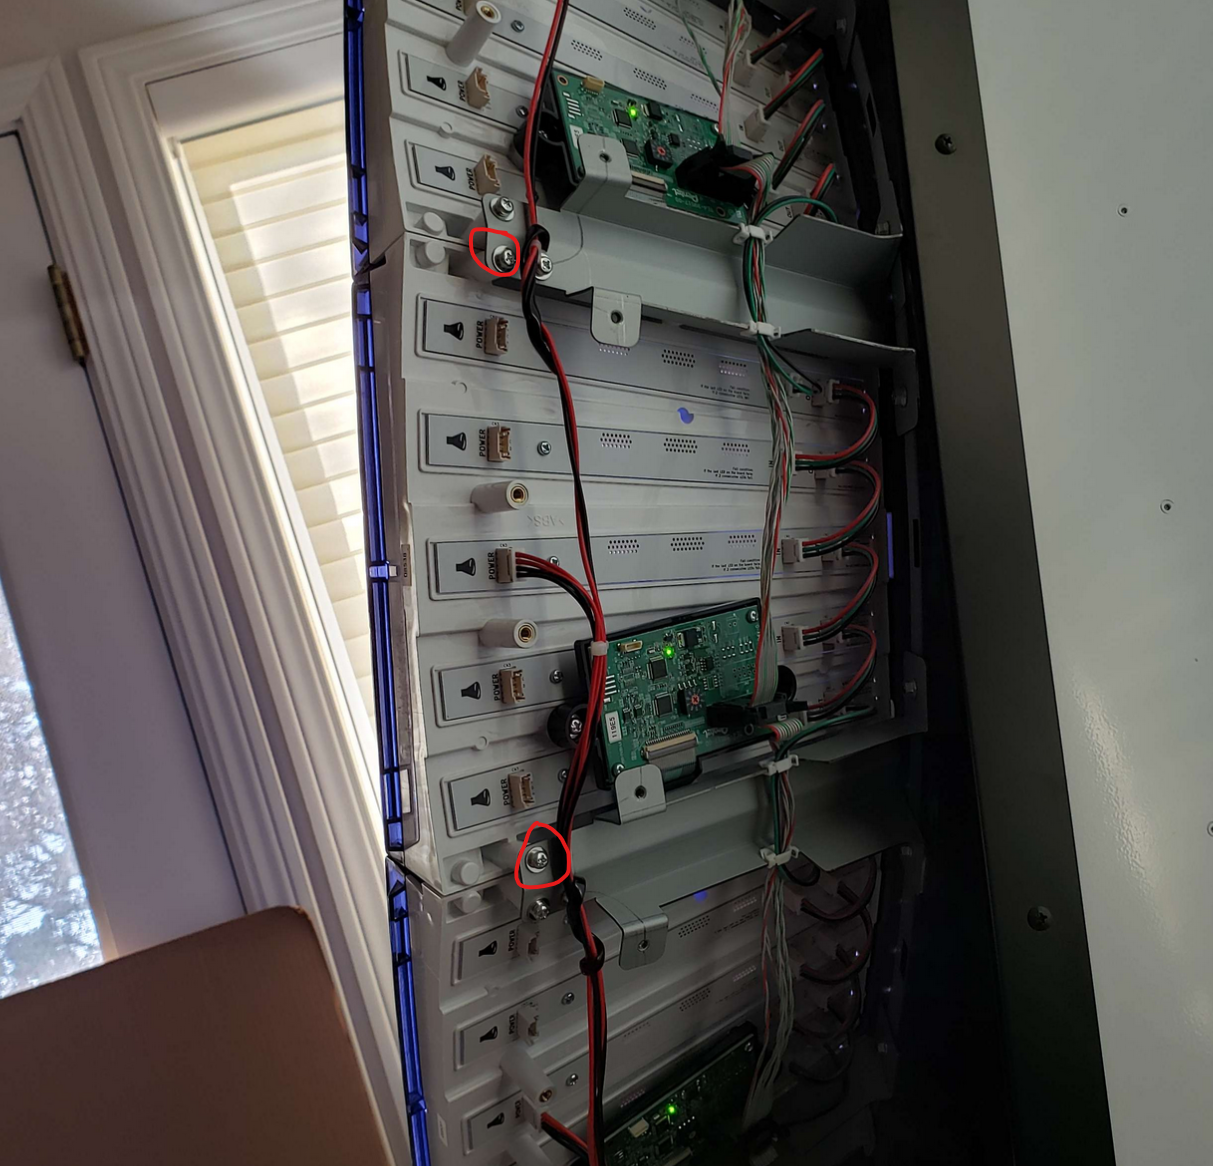
Remove the ribbon from the Pentel touch PCB and unscrew and remove the PCB.
Unscrew each LED PCB and pull them out.
Place in the new PCB and screw everything back together.
Tip
You can feed the ribbon back through the hole in the touch PCB bracket by attaching some painter's tape to it and pulling the tape through. Be gentle here though, broken ribbons are no fun.
Note
You may need to remove the pop / marquee to get to the touch panels on the top of the machine. This may require security Torx bits.
If the cab is powered on you will need to go to CONNECTION TEST OF TOUCH DEVICES and RECONNECT TOUCH DEVICES in the
test menu after re-connecting the touch board.
Video instructions: https://youtu.be/iyhxQFl7XyE