Custom LED Driver
The FTDI adapter we use is an Adafruit FT232H. To flash it with the proper firmware you'll need the FT_PROG EEPROM programmer (mirror) software
Instructions
Ensure the FTDI D2XX drivers are installed and the FT232H board is the only FTDI device connected to your computer.
Verify this by opening Device Manager and inspecting each device under the COM & LPT ports dropdown if you're unsure.
Open FT_PROG and navigate to DEVICES > Scan and Parse. You will see a new device populate in the device tree.
Click on the device in the tree and verify Chip Type is FT232H as this will be the Adafruit board.
Navigate to USB String Descriptors under the FT EEPROM section of the Device tree and
change the Product Description field to Single RS232-HS and ensure the Serial Number field is blank, and
the Serial Number Enabled box is unchecked.
Navigate to the Driver tab in the device tree under Hardware Specific > Port A and ensure Virtual COM Port is
the checked option and D2XX Direct is not selected.
Right click the root Device in the device tree and click Program Device
Once the programming has been completed, disconnect the USB cable and reconnect it.
Open your Windows Device Manager if it is not already and navigate to USB Serial Converter Under the
Universal Serial Bus Controllers, click Properties and navigate to the Advanced tab, ensure Load VCP is checked.
Close the window and disconnect the USB cable and reconnect it.
Within the Device manager navigate to USB Serial Port (COM*) under Ports (COM & LPT) right click, select
Properties > Port Settings > Advanced > COM Port Number and select COM6 disconnect the USB cable and
reconnect it.
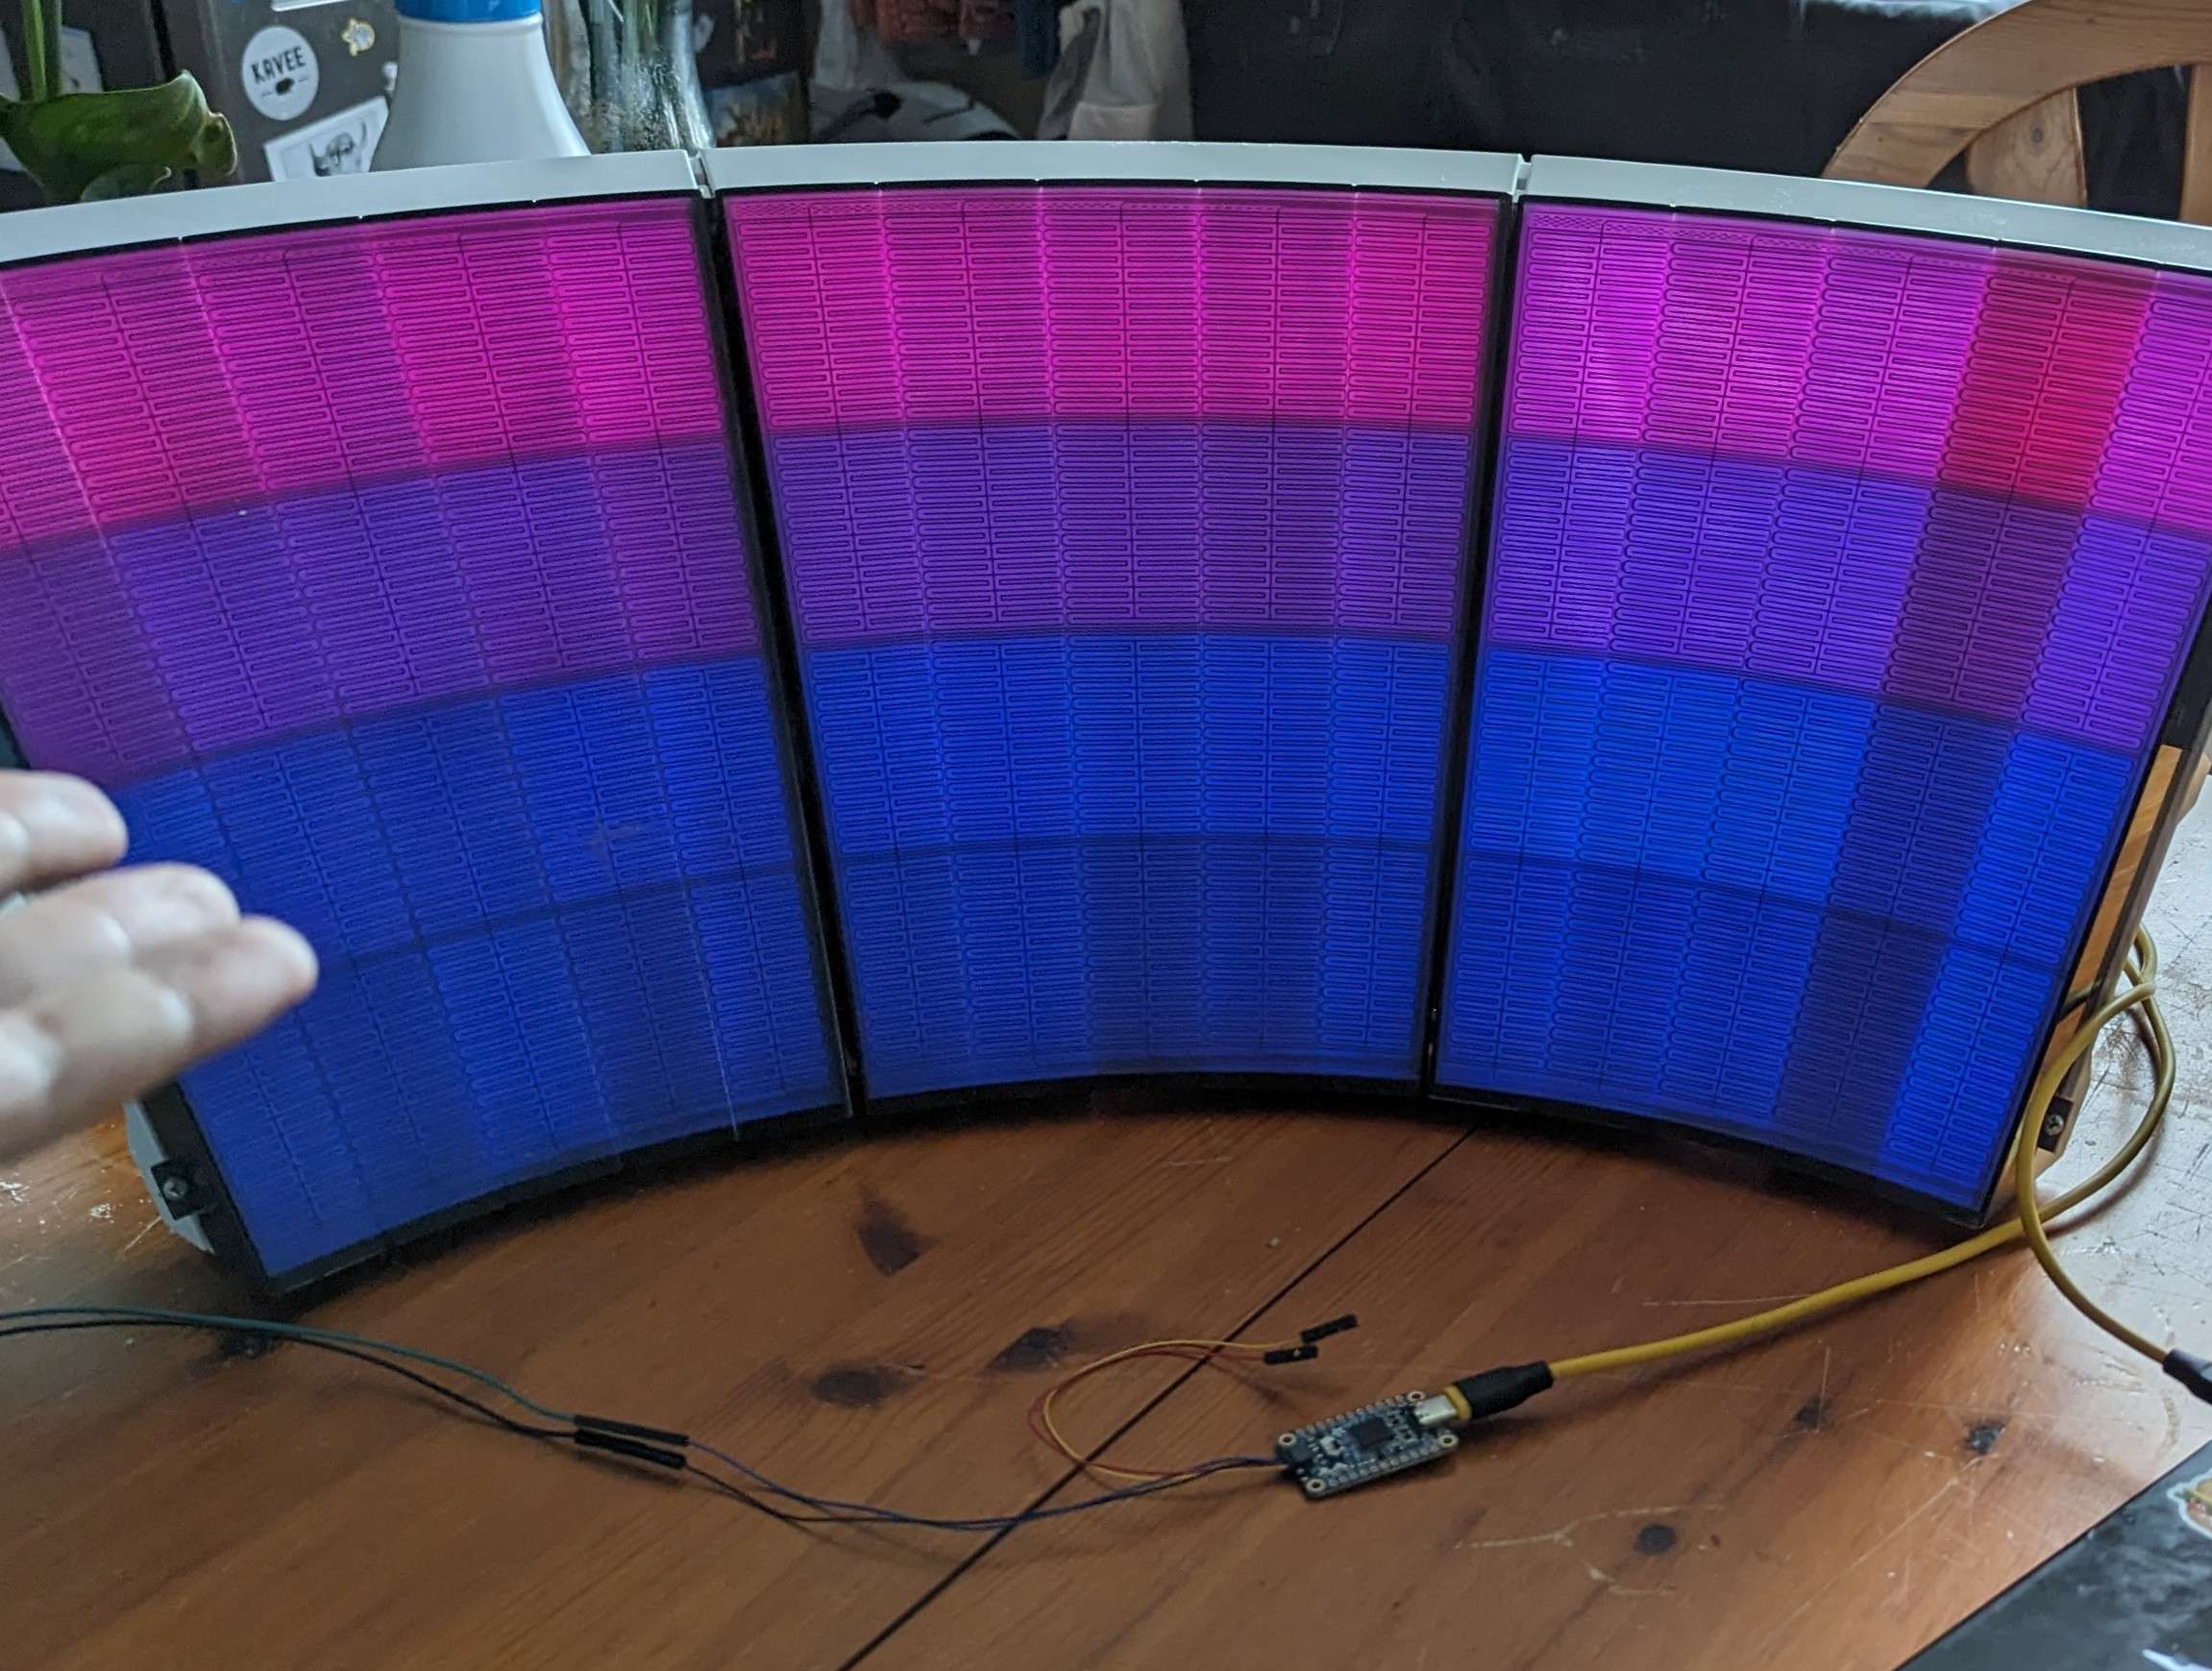
Connect a wire to GND for LED Ground, and a wire to pin D1 for LED Data
Load the game and you should have LED activity displaying if everything is configured correctly.